
- A Practical Email Warmup Schedule: Your First Six Weeks - novembre 17, 2026
- Training Video Localization for Global Teams: Methods, Tools, and Tips - octobre 31, 2026
- How to Document Business Processes Using AI - octobre 14, 2026
Last Updated on novembre 17, 2026 by Nora Ramirez
When you start sending emails from a new email address or domain, sending too many too quickly can hurt deliverability before you’ve had a chance to build a strong reputation.
An email warm-up schedule helps you avoid that problem. If you start with a small number of emails and gradually increase your sending volume, you give mailbox providers time to evaluate your sending behavior.
The key is finding a pace that builds your sending reputation without raising red flags. That’s where a six-week schedule helps. It gives you a clear starting point that you can adjust based on how well your emails perform.
What to Do Before Starting Your Email Warmup

Before sending your first emails, make sure your account is set up properly. A slow sending schedule won’t help much if mailbox providers can’t verify your messages or you’re sending to outdated addresses.
Set up email authentication. Three DNS records help mailbox providers verify your messages:
- SPF (Sender Policy Framework) lists which servers are allowed to send email for your domain.
- DKIM (DomainKeys Identified Mail) adds a digital signature that shows your messages haven’t been changed.
- DMARC (Domain-based Message Authentication, Reporting, and Conformance) tells mailbox providers what to do when a message fails authentication and sends you reports on the results.
Follow your email provider’s setup instructions, then use a tool like MXToolbox to look for errors.
Your records should also line up with the domain in your From address. A record can exist and still be set up wrong. To check, send a test email to a Gmail account, open it, and choose Show original. Near the top, you’ll see a result for SPF, DKIM, and DMARC. Each one should say PASS. If any of them fail, go back to your provider’s setup instructions or ask their support team to help you fix the record before you start sending.
Check your domain reputation. If you’re using an existing domain, use Google Postmaster Tools to review your reputation data and Spamhaus to check for blocklist listings. Brand-new domains usually won’t have enough sending history to show useful reputation data yet.
Review your contact list. Start with valid addresses from people who have agreed to receive your emails. Remove duplicates, outdated contacts, and addresses that have bounced or unsubscribed. Avoid purchased or scraped lists, which can hurt your reputation early on.
Recommended Email Warmup Schedule
This schedule is a starting point for warming up a new mailbox. It assumes you’re sending to legitimate, opted-in contacts and that your email authentication is configured correctly.
| Week | Days | Suggested daily sending volume |
| Week 1 | 1–7 | 5–10 emails |
| Week 2 | 8–14 | 10–20 emails |
| Week 3 | 15–21 | 20–35 emails |
| Week 4 | 22–28 | 35–50 emails |
| Week 5 | 29–35 | 50–75 emails |
| Week 6 | 36–42 | 75–100 emails |
These are targets for a single new mailbox, not universal limits or guaranteed safe volumes. Start at the lower end of each range and increase gradually rather than jumping to the next week’s max.
If you have a new domain, keep in mind that warming up multiple mailboxes on the same domain requires additional caution. Their combined sending activity can affect the domain’s reputation, so don’t treat each mailbox’s allowance as entirely independent.
Higher-volume email marketing campaigns need a different ramp-up schedule based on total volume, list quality, and sending infrastructure.
Days 1–7: Start with just a few messages
Begin with 5–10 emails per day. Send to contacts who are likely to recognize you and respond positively, rather than starting with a large list of unfamiliar recipients.
Spread your emails out during the day instead of sending them all at once. Keep your messages personal and relevant to each recipient, and avoid sending identical emails to everyone.
During this first week, be on the lookout for bounced messages and delivery errors. If you encounter problems, investigate them before increasing your sending volume.
Days 8–14: Gradually increase daily emails
If your first week went smoothly, increase your volume to 10–20 emails a day. Make the increases gradual.
Continue sending to contacts who have a reason to hear from you. Avoid introducing old or unverified email lists just because you’re ready to send more messages.
You should still pay close attention to bounces, spam complaints, and delivery problems this week. If those indicators get worse, hold your volume steady until you understand what’s happening.
Days 15–21: Build a consistent sending pattern
If the first two weeks have gone well and you haven’t had significant problems, you can work toward 20–35 emails a day in week 3.
Try to maintain a predictable sending schedule rather than alternating between days with no activity and sudden bursts of emails.
You can also start testing different types of messages during this period. Try comparing short, plain-text emails with messages that include links or images. Watch for differences in delivery and recipient responses. Keep the tests small so you can spot problems without introducing too many variables at once.
Review the data on how recipients respond to your messages. Replies and other genuine interactions can help you assess whether you’re reaching the right people.
Days 22–28: Increase volume if engagement stays healthy
By the fourth week, you may be ready to send 35–50 emails per day. But reaching this range isn’t a requirement. Your sending reputation and delivery results should determine whether you increase your volume.
Keep your contact list clean and remove addresses that repeatedly bounce. Pay attention to negative responses, too. If recipients are marking your messages as spam, increasing your sending volume could make the situation worse.
Days 29–42: Work toward your normal sending volume
During weeks five and six, gradually increase your daily volume from 50–75 emails to 75–100 emails, assuming your deliverability remains stable.
You can begin approaching your regular sending schedule, but don’t assume that completing six weeks means your mailbox is ready for unlimited volume. Mailbox providers continue evaluating your sending behavior long after the initial warm-up period.
If your normal sending volume exceeds 100 emails per day, continue increasing gradually rather than making a sudden jump. Maintain good list hygiene, monitor your reputation, and adjust your sending volume when delivery problems appear.
Automating Your Email Warmup
Sending a few emails manually each day is manageable at first. As volume increases, though, spacing out messages, monitoring results, and keeping track of daily limits takes more time.
Email warmup tools can automate parts of the process. Depending on the platform, they may gradually increase sending volume, distribute messages throughout the day, or generate activity that resembles normal email conversations.
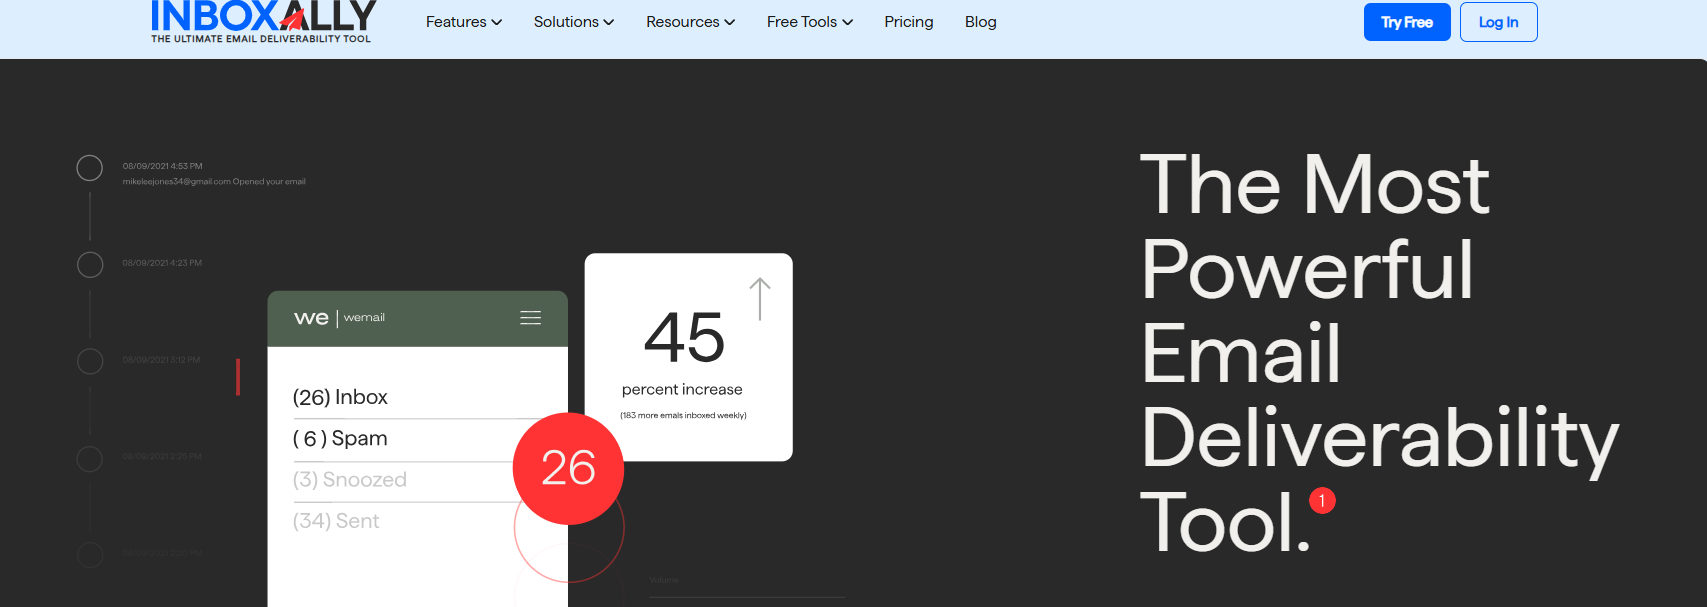
InboxAlly, for example, focuses on inbox placement and engagement signals. You add its seed email addresses to your list and send your emails as usual. The seed accounts then interact with your messages by opening them and moving them out of spam folders. These interactions are designed to help mailbox providers recognize that recipients want to get messages from you.
Think of InboxAlly as a helper for your warmup schedule but it won’t fix authentication problems or a messy contact list, so those still need attention.
How to Tell if Your Email Warmup Is Working
Reaching your daily sending targets doesn’t necessarily mean your warmup is working. You also need to know whether mailbox providers are accepting your messages and delivering them to recipients’ inboxes.
Monitor these five indicators throughout your warmup:
- Bounce rates: A high number of bounced emails may point to invalid addresses, delivery restrictions, or reputation problems. Pay close attention to hard bounces, which usually mean the address doesn’t work at all.
- Spam complaints: When recipients mark your messages as spam, it sends a negative signal to mailbox providers. Google recommends keeping reported spam rates below 0.1%. A rate of 0.3% or higher indicates a more serious deliverability problem.
- Authentication: Check that SPF, DKIM, and DMARC continue to pass. Authentication failures can interfere with delivery regardless of how carefully you increase your sending volume.
- Sender reputation: Check Google Postmaster Tools and other reputation monitoring services for signs of trouble as your sending history grows.
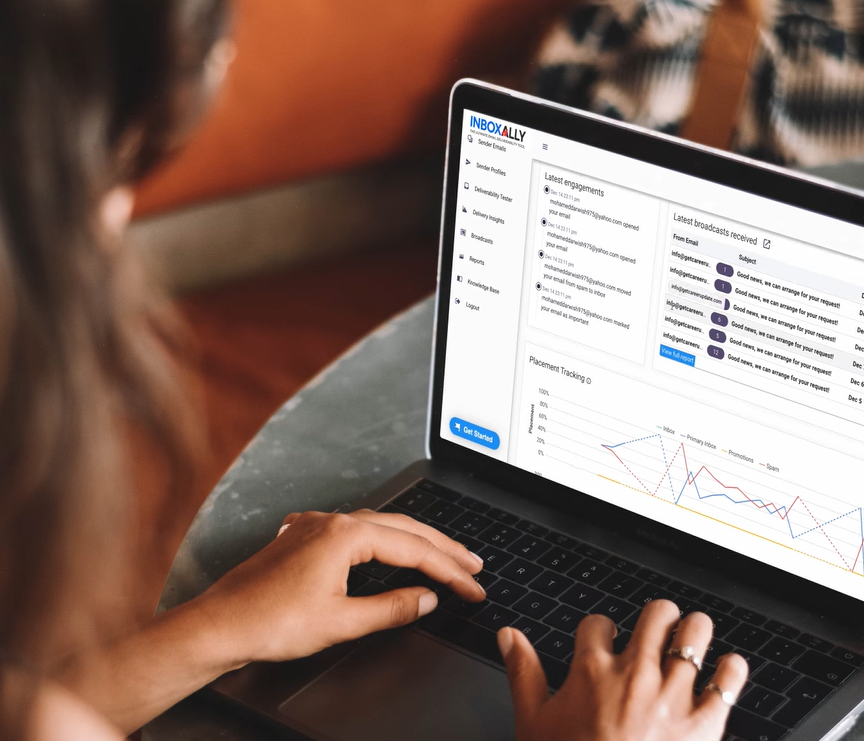
- Inbox placement: Track whether messages reach the primary inbox, spam folder, or another location. Placement testing tools like InboxAlly’s free Email Placement Tester can give you a good estimate.
Look for consistent delivery and low complaint rates before increasing your volume. Open rates can provide additional context, but they’re not always accurate. Email privacy features and automated security scanners can register messages as opened even when recipients haven’t read them.
When to Pause or Adjust Your Warmup Schedule
Your warmup schedule should follow your delivery results. If problems creep up, don’t keep increasing your daily volume just because the calendar says it’s time.
Consider slowing down or pausing when:
- Bounce rates increase. Stop sending to addresses that hard bounce, check your list quality, and investigate delivery failures.
- Spam complaints rise. If this happens, review your audience, message content, and sending frequency.
- Inbox placement declines. If more messages are landing in spam, hold your sending volume steady or reduce it while you investigate.
- Authentication errors appear. Correct SPF, DKIM, or DMARC problems before continuing your warmup.
Before resuming, identify what caused the problem and take steps to fix it. Once your delivery results stabilize, restart at a lower volume and increase gradually. There’s no need to return to day one after every minor issue, but repeated problems may call for a more cautious schedule.
Common Email Warmup Mistakes to Avoid
Even with a solid plan, a few common mistakes can slow down your warmup or undo the progress you’ve made. Here’s what to watch out for.
Mistake #1: Increasing volume too quickly
Jumping from a handful of emails to hundreds per day can trigger spam filters. Increase gradually, and let your delivery results determine the pace.
Mistake #2: Using poor-quality contact lists
Outdated, purchased, or unverified lists often contain invalid addresses and people who don’t want your emails. High bounce rates and spam complaints can damage your reputation.
Mistake #3: Ignoring email provider limits
Gmail, Outlook, and other providers have sending limits and policies that vary by account type. Even if you’re within your provider’s limits, a new account might need a much lower daily sending volume.
Mistake #4: Assuming warmup guarantees inbox placement
Doing your warmup doesn’t guarantee that future emails will reach the inbox. Message content, recipient engagement, list quality, and sender reputation will all affect deliverability over time.
Your Warmup Is Just the Beginning

Six weeks of email warmup won’t guarantee perfect deliverability, but it gives you time to establish a sending history and catch problems before you increase your volume.
Start with a manageable daily volume, increase it gradually, and pay attention to how your emails perform. Treat your six-week schedule as a starting point rather than a rigid set of rules, and make adjustments when you need to.
A steady approach now can make it much easier to confidently send more emails down the road.




 English
 German
 Spanish
 French